Hardware Hacking 1
Published:
The other day I made my first attempt at figuring out how to get started with hardware hacking. I try to get practice with various techniques and platforms wherever I can whether it be websites and cross-site scripting or command injection, or like this post will try to show, how I got started figuring out how to see the inner working of hardware or embedded systems. Before I start though I should say that I got a lot of help from looking at posts from @cybergibbons and his website. The hardest part about getting started was knowing what exactly was needed to start. His posts and videos on the “how” of it was invaluable to taking even the smallest step.
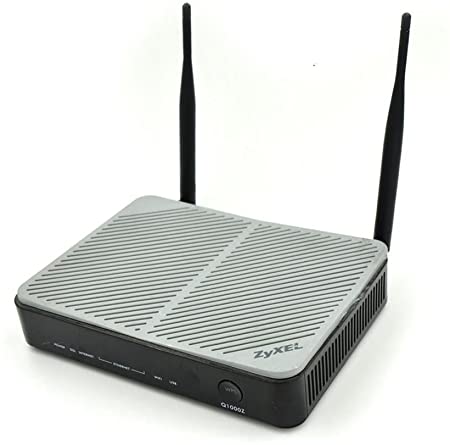
That being said, I have found lately that I have a lot of extra or broken hardware laying around that I need to take to recycling for disposal. In the meantime, I chose a Zyxel Q1000 router as a candidate for disassembly and evaluation since it is way past its prime and potentially breaking it wasn’t going to deter me. For the last several years I had been using the device as a modem and bridge for a router that I had bought separately. After moving away from the DSL provider out here I no longer needed it, and so I decided to use it as my first victim.
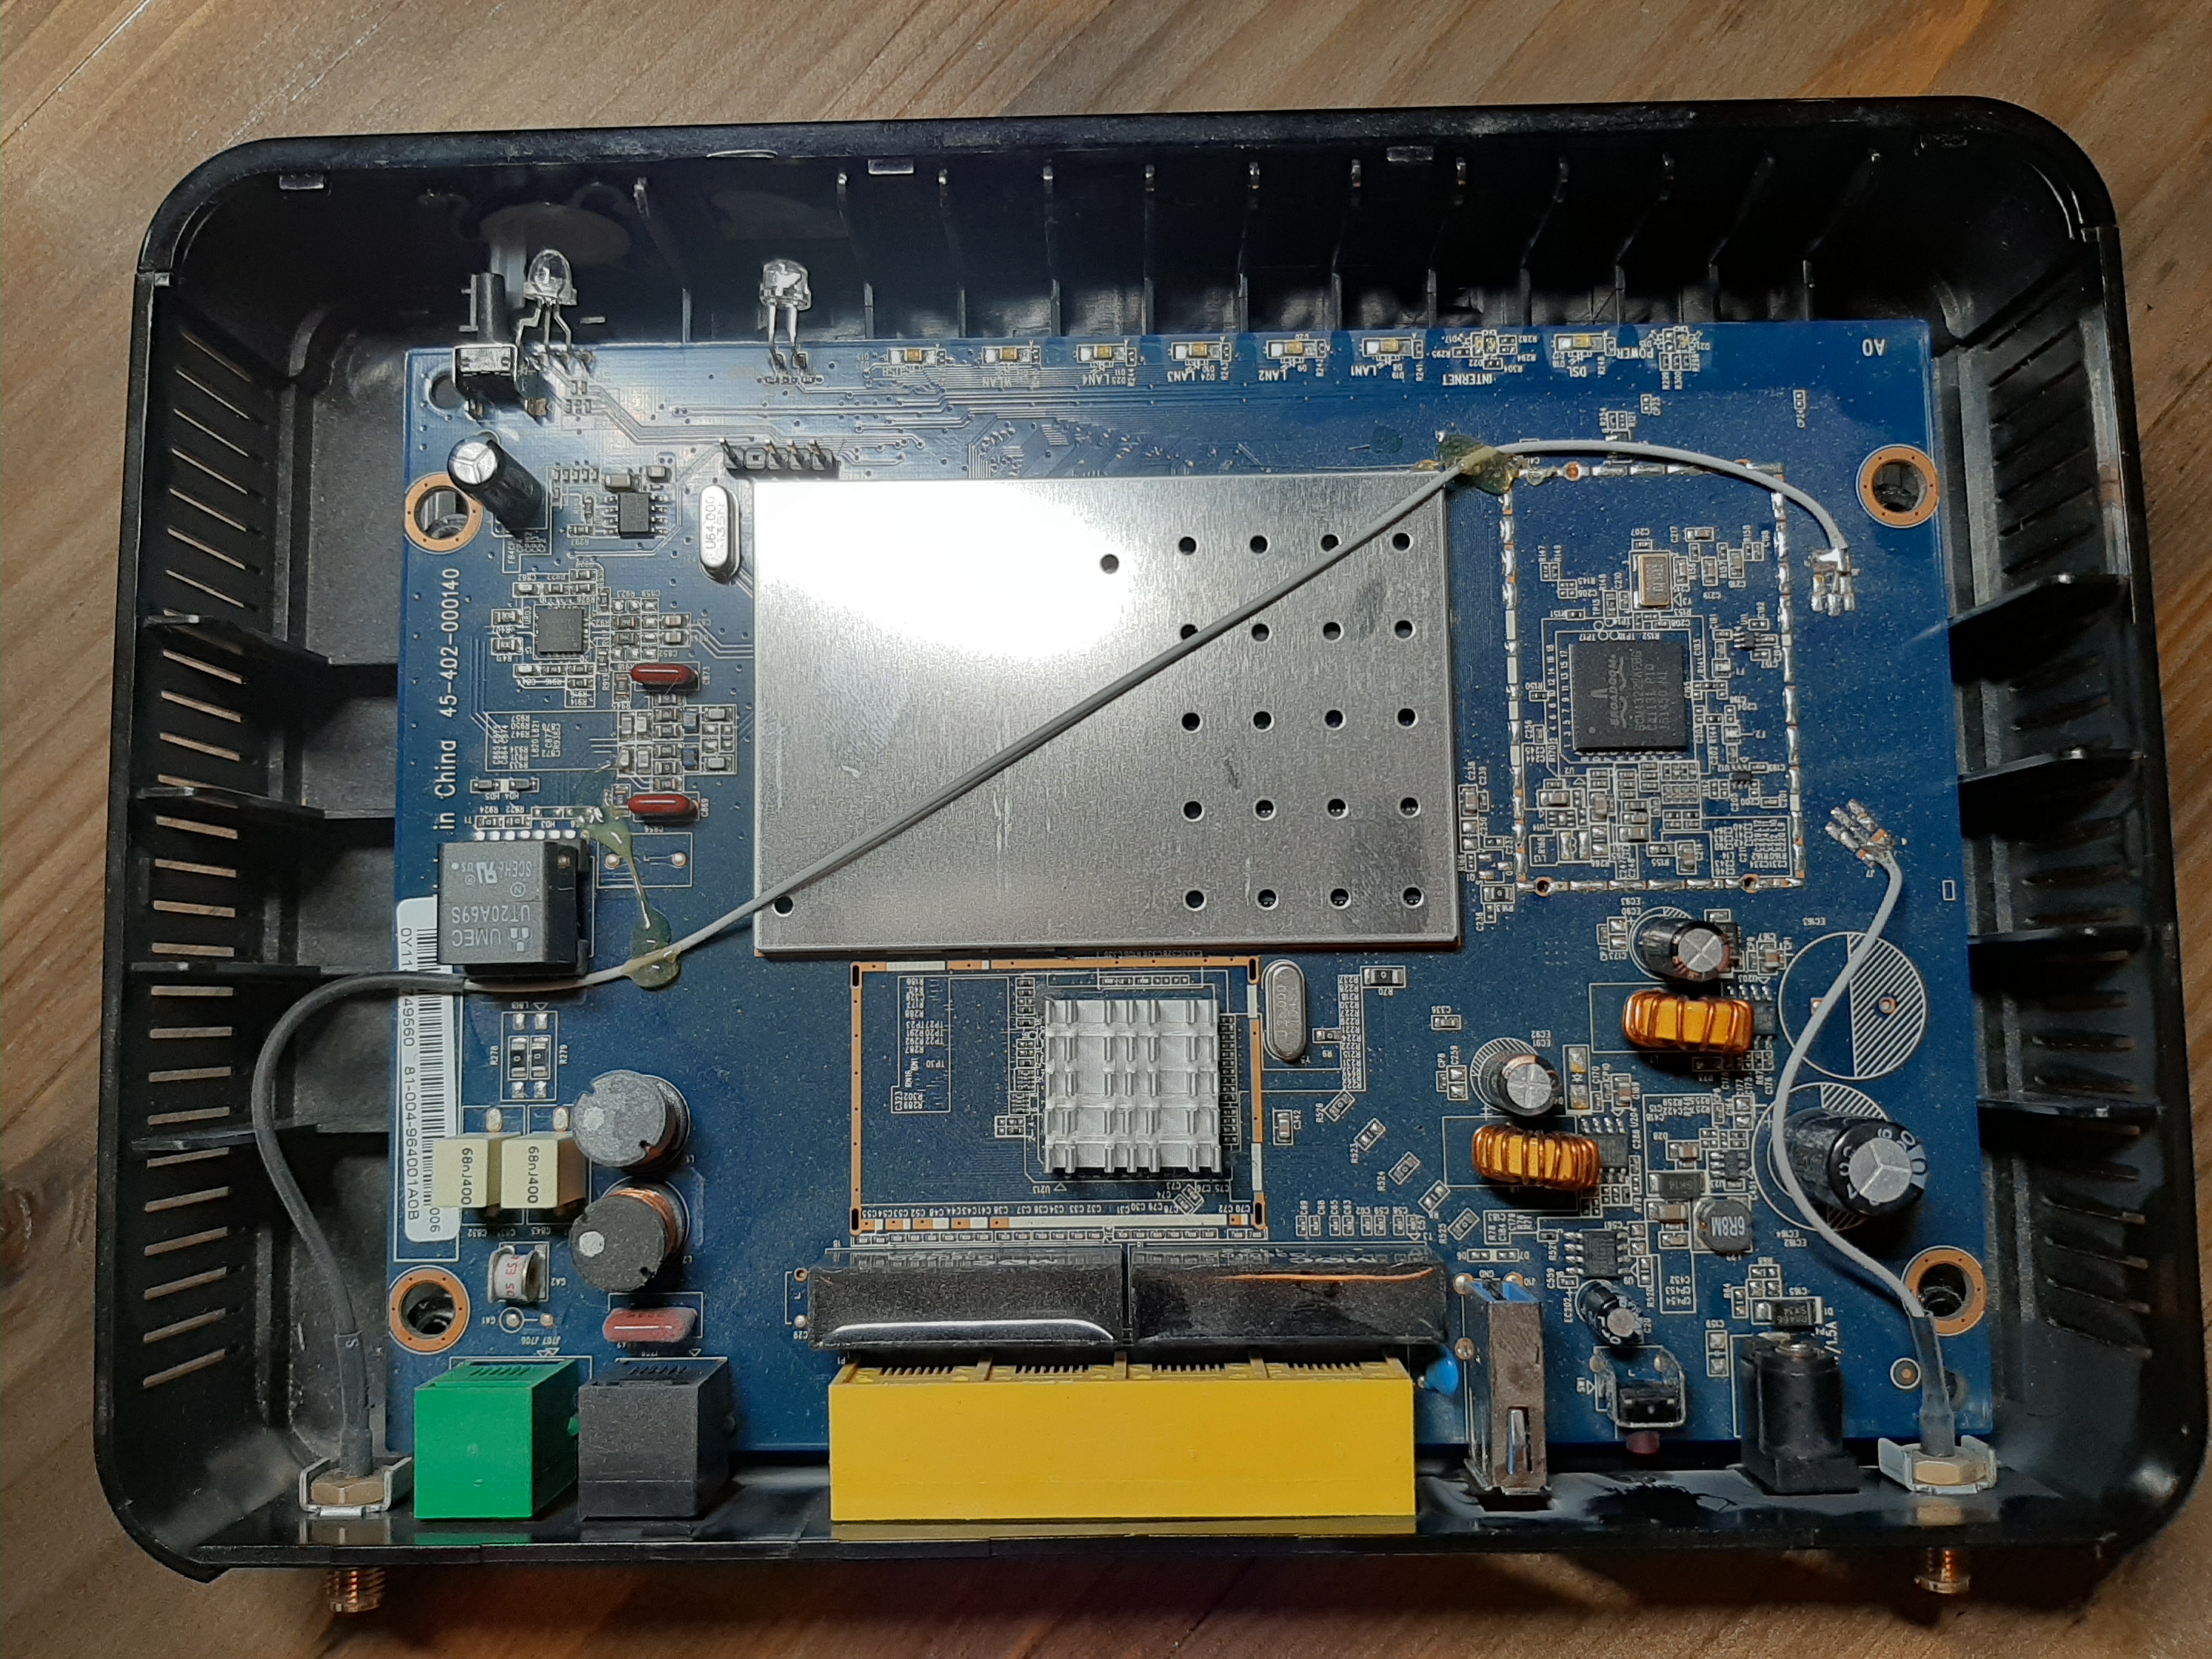
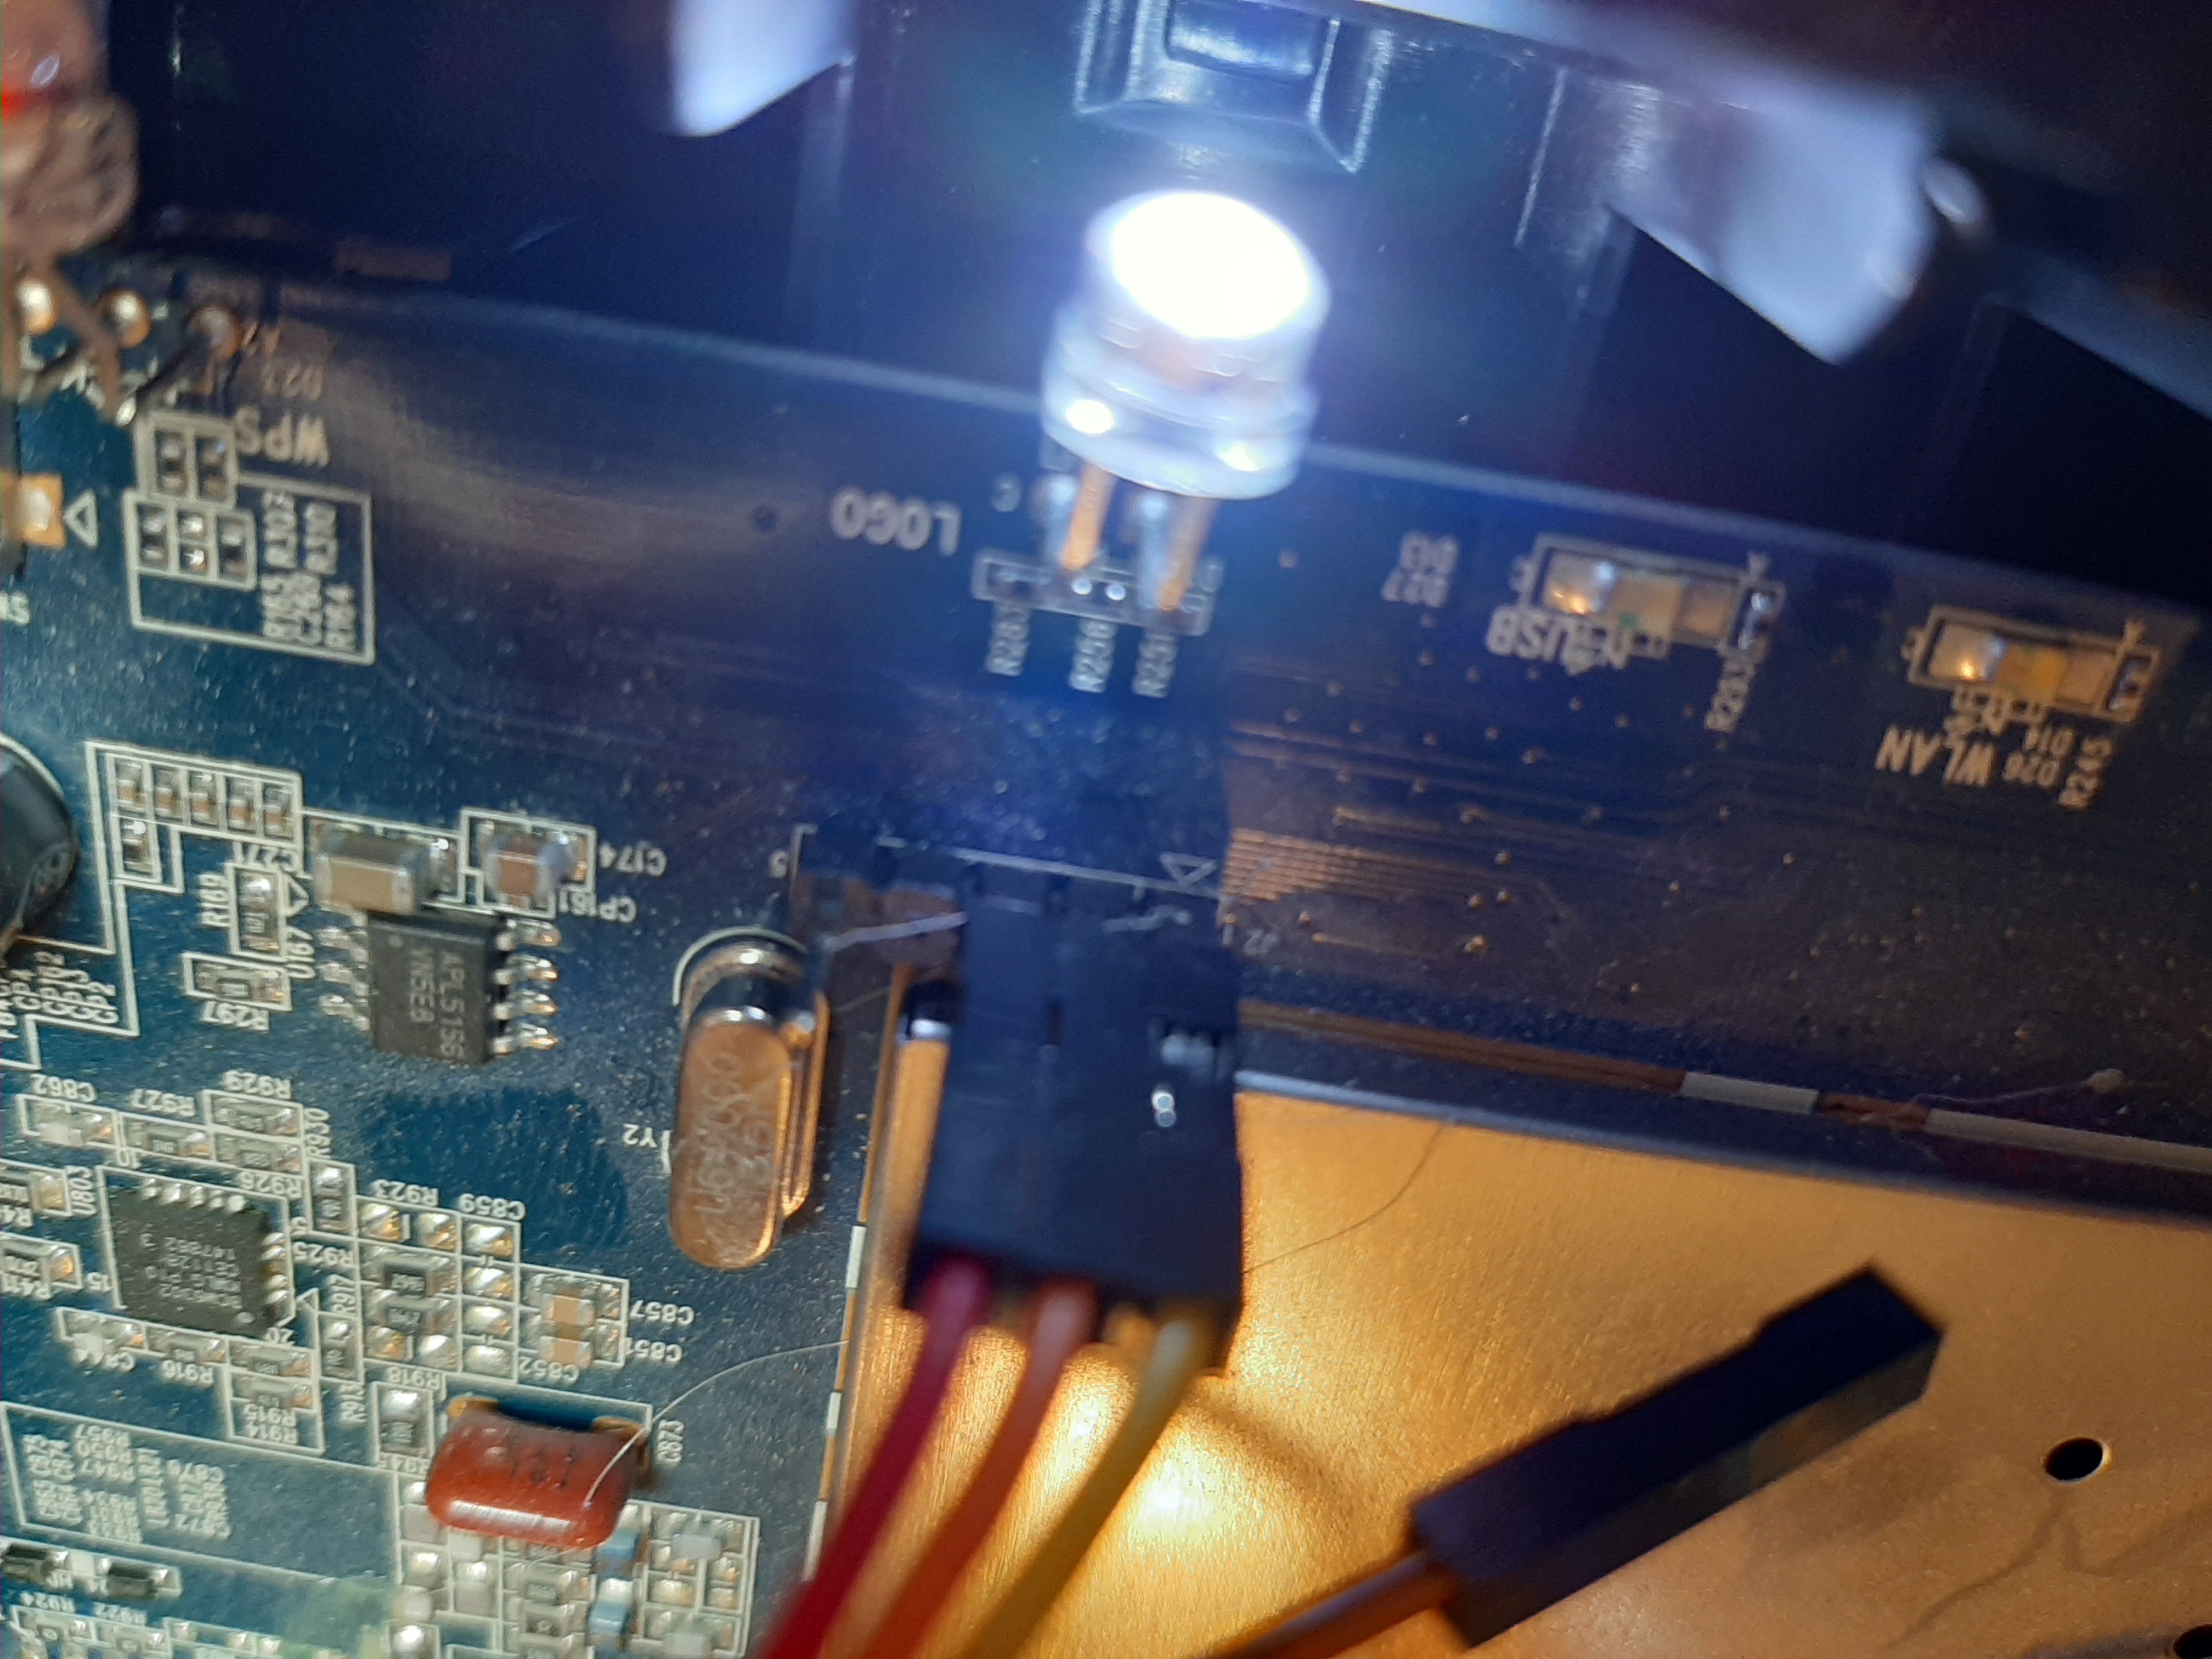
My goal here was to see if I could make heads or tails of the process of identifying, connecting to, and retrieving serial data from a UART (Universal Asynchronous Receiver-Transmitter) connection on the board itself. Upon opening the case and looking at the device the most prominent feature is the metal case over a Broadcom chip, alongside the wires running across the board to each of the antenna ports.
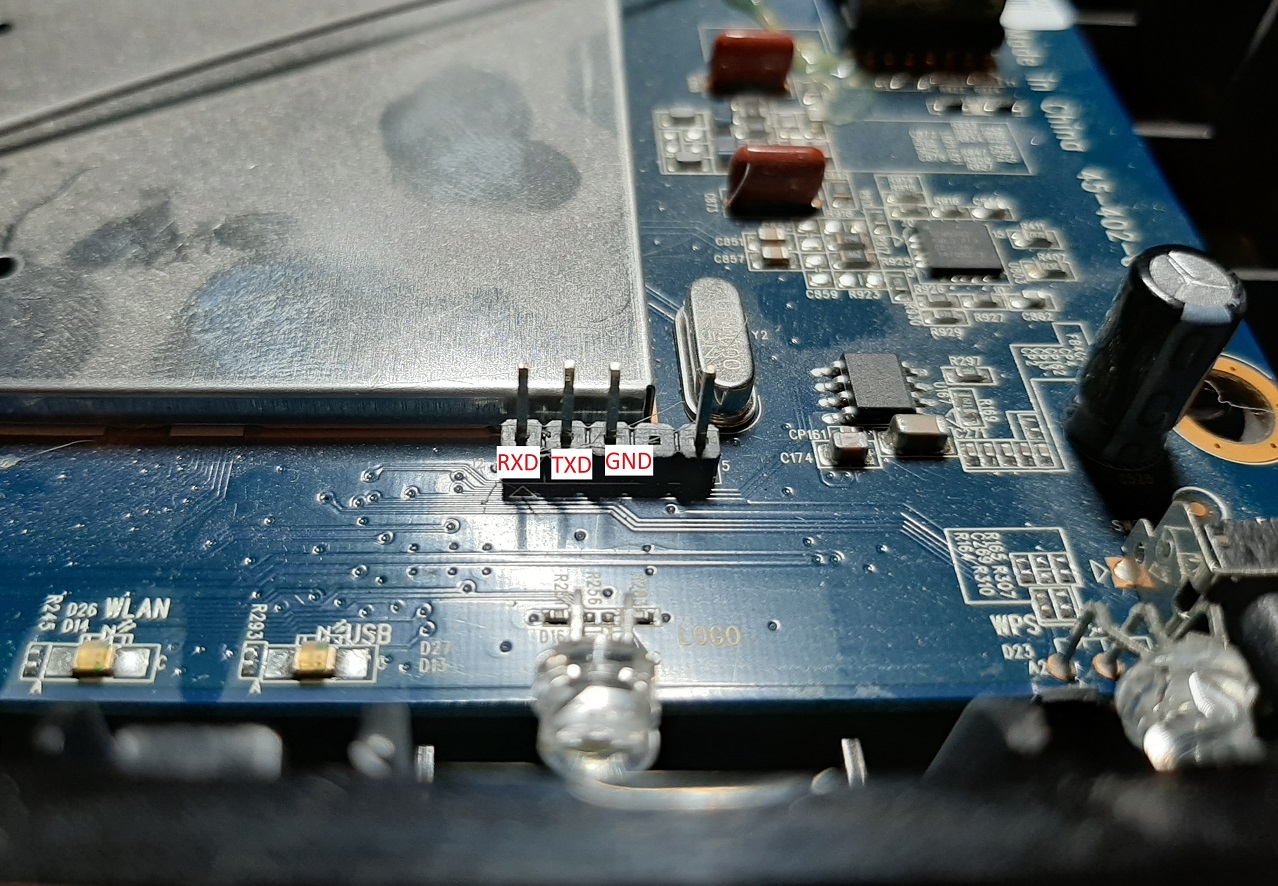
You might be able to see in the image above the 4 pins at the top right of the device. That is the UART serial connection labeled “J2” and has 4 pins with one… missing? I spent some time testing the pins and figuring out the correct order (more on that below), and what I discovered the pin order to be is:
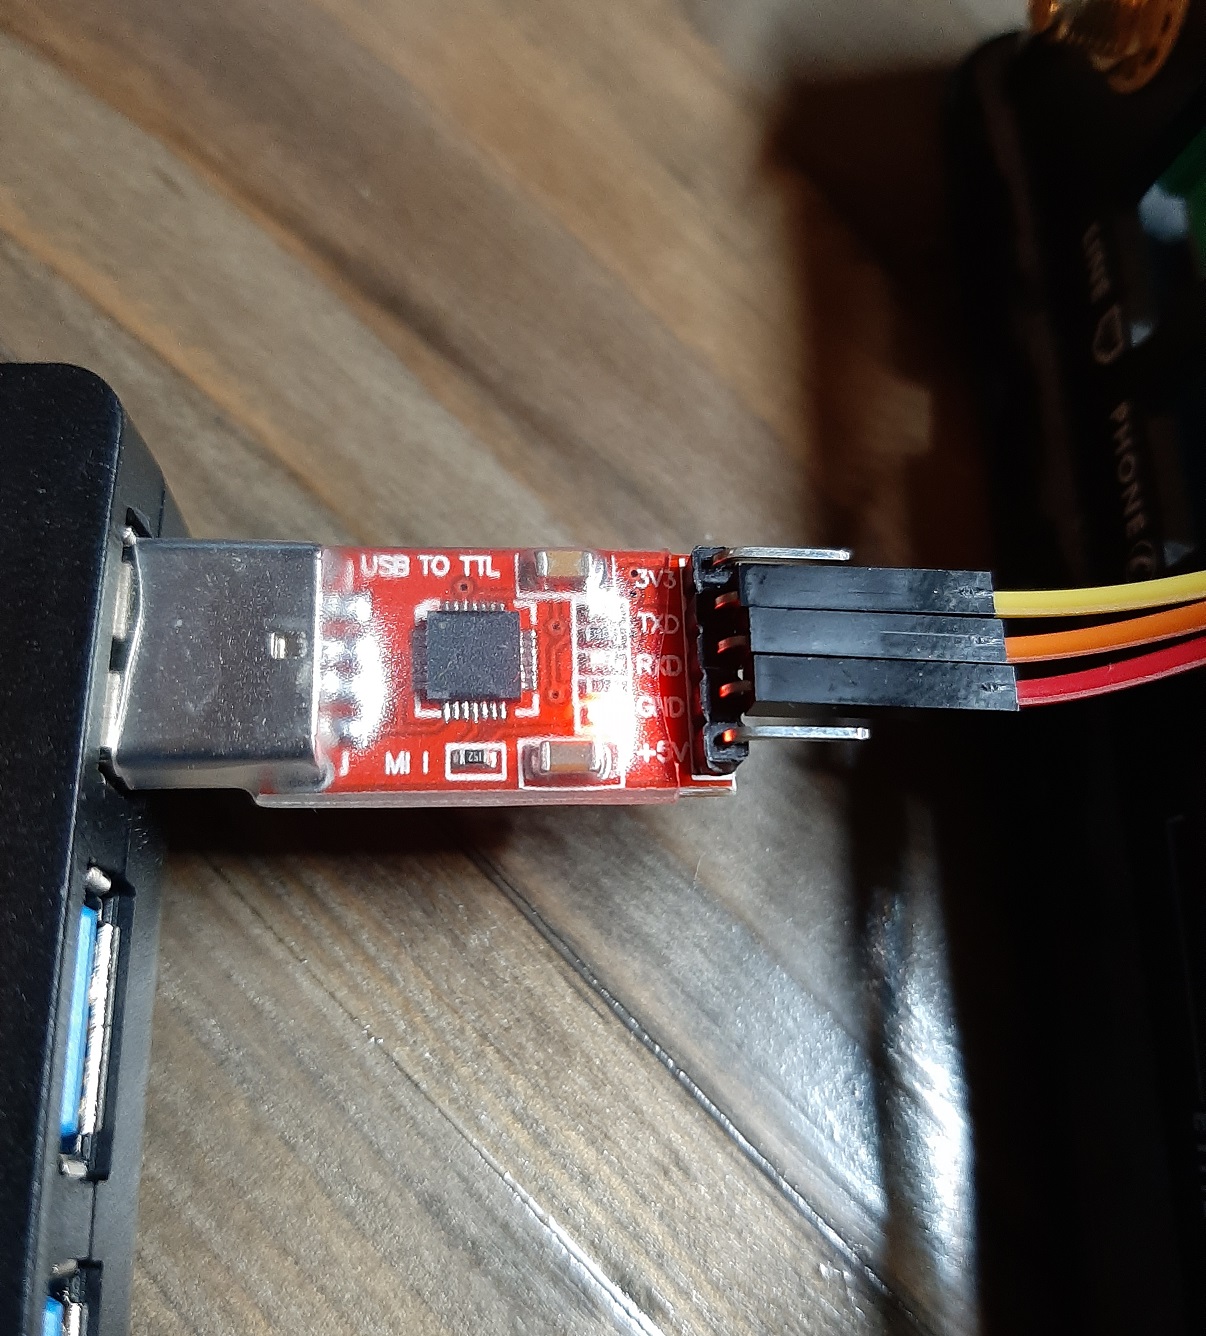
For the next part, actually connecting to the UART, I used an old laptop running Ubuntu, a power-cycling USB hub, a serial-to-USB adapter, and some test clips. The connection to the device requires that you connect RXD to TXD, TXD to RXD, and GND to GND.
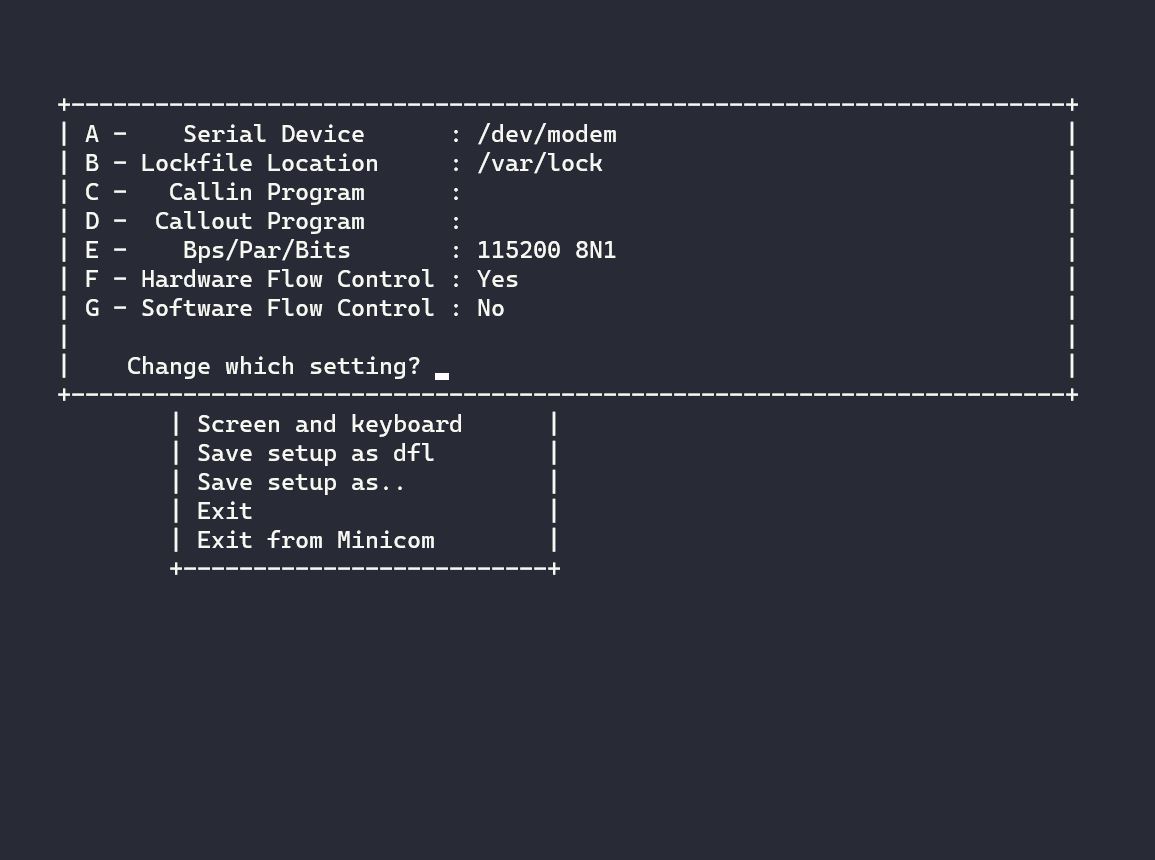
Okay, so now your device is connected to the USB, the USB to the hub, and the hub to your computer. Now you need a way to retrieve the data. Minicom is a serial communication and terminal emulator that we can use to read information from the serial connection. When you turn on the hub on Linux you get a device called /dev/ttyUSB0 which can be found by running dmesg. Minicom allows you to configure settings for the serial device you will be communicating with along with the baud rate settings (defaults shown).
This is where I started to have to figure out how exactly to get the communication I wanted. I had previously attempted to connect to the device on a Windows machine and found that the serial channel was a COM channel. This is something I didn’t previously have any experience with, so it took me a few minutes to figure out where to even start looking. I didn’t have nearly as much trouble in Linux since dmesg gives you the channel you’re looking for. I assume you can also use PuTTY to do this, since it also offers serial connection options (maybe next time).
The issue I had initially with Minicom was I only got garbage back. My first run where I actually saw something was full of random characters, and was obviously not correct. The baud rate at this time was set to 9600 so I tried some other settings. 38400 didn’t work either, but once I set the baud rate to 115200… viola! Data!
Before Adjustment

After Adjustment
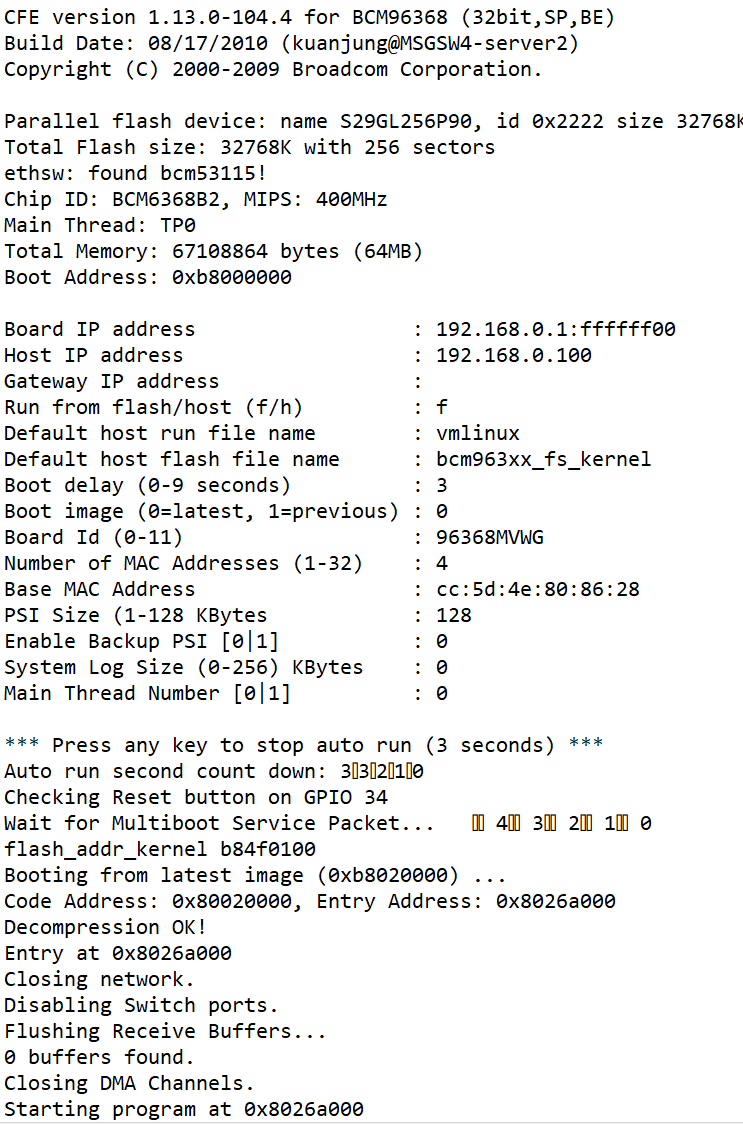
I was amazed to see that I actually got this working! The communication running down the terminal showed the boot up process, and even still contained settings that I had entered into the device a long time ago when I was still using it as a router (rather than a bridge).
Besides just seeing the information I next wanted to interact with the device through the serial connection and see if I can get into a shell from there. At this point I started having trouble with minicom and had to move to terminal emulator called GTKTerm. I was able to interact with the device through GTKTerm by stopping the boot countdown and entering into a CFE (Common Firmware Environment) terminal.
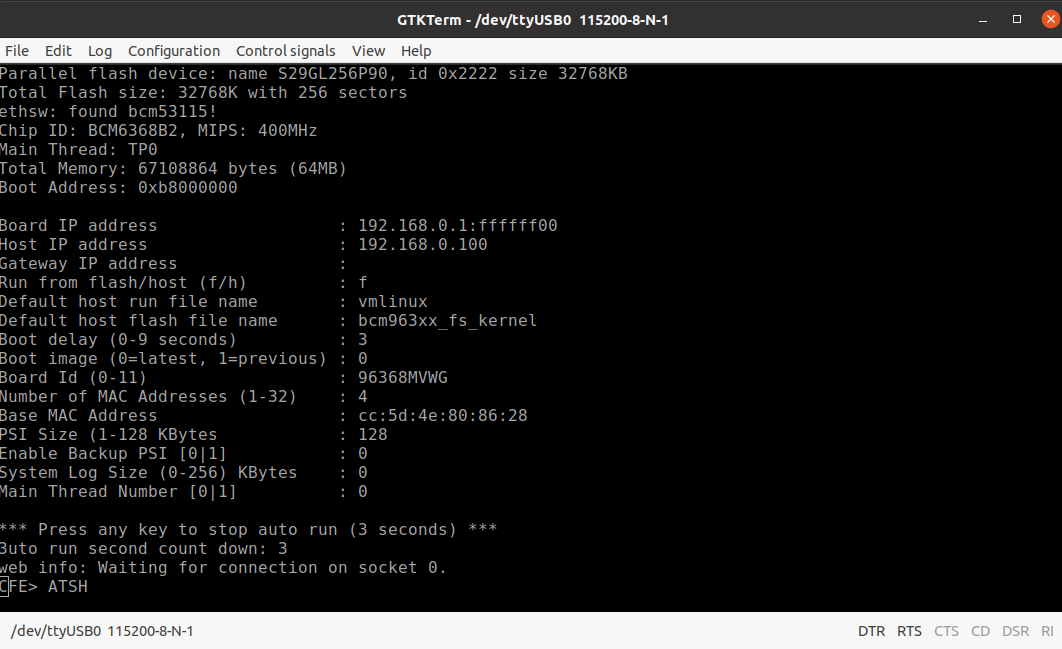
Still no luck though, because as soon as I entered anything into the CFE the device froze and had to be restarted. I continued to mess with it a little longer to see if I had missed something, but no matter the result I never got past the CFE freeze. From here I decided to run the router as it was intended, as a router, and port scan it for the heck of it. From that I found the following ports open:

I’m not sure why it was broadcasting all of this when none of it was turned on, but I couldn’t get into things like telnet without turning it on first. I chose not to look into this further and see if I could get in without turning it on, because at this point, I was a little bored with it, and felt I had achieved my goal of even getting this far into the process.
All in all, I felt pretty good about this small undertaking and getting this far with the router. Now that I know how to do all this my next project will be looking at a DEFCON badge I have from a while back. I was never able to do too much with it because at that time I was still learning a lot of other things, and wasn’t much into hardware. We’ll see how that goes next time.
Until then, thanks for reading!
- G